(FFmpeg) How to Convert MOV to MP4?

MOV is a video format developed by Apple but compatible with most software and players. MOV uses the MPEG-4 codec for compression making the conversion between MOV to MP4 very simple, as seen below:

$ ffmpeg -i input.mov output.mp4 

Tip: MOV files are usually larger in size but a higher quality video in comparison to MP4.But the MOV format does run the risk of compatibility issues due to it being maintained for Apple products.

Tip: Instagram and Twitter support MOV video uploads.

The FFmpeg Bible is now on Amazon! (Paperback & Ebook)

After careful deliberation and feedback from the community, I’ve decided to rebrand this FFmpeg For Beginners. More information here: http://johnriselvato.com/ffmpeg-for-beginners-is-now-on-amazon-paperback-ebook/

Thanks to everyone who supported the initial release. Sorry to everyone I offended by calling it a Bible.

(FFmpeg) How to Replace the Audio on a Video?

There are times when the audio on a video needs to be replaced. Here filters are not even needed to replace audio but the use of ​-map becomes important to understand:

$ ffmpeg -i input.mp4 -i input.mp3 -map 0:v -map 1:a -shortest output.mp4

Here the video from the first input and the audio from the second input is mapped to the output.

Challenge:​ Using the same concepts in the above example, if two inputs were videos, how would you replace the first input video with the second input video but keep the first input’s audio?

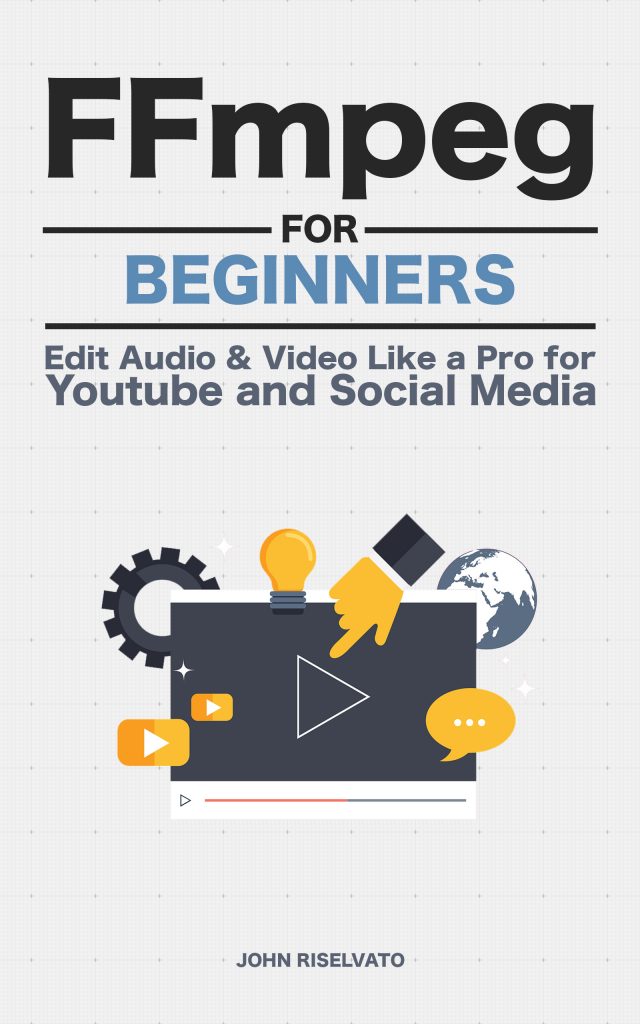
Love FFmpeg? Grab a copy of FFmpeg For Beginners on Kindle or Paperback to learn over 120 ways to master FFmpeg!
buy now on amazon

(FFmpeg) How to Mix Additional Audio into a Video?

Adding an additional audio source on top of the audio already in a video can be accomplished with the ​amix​ filter. This might be useful for adding background music to a commentary video. The command is as follows:

$ ffmpeg -i input.mp4 -i input.mp3 -filter_complex "amix"​ -map 0:v -map 0:a -map 1:a output.mp4

A common issue that comes up with ​amix​ is the volume of one input over powers the second. Setting the louder input volume down can resolve this. In the example below the volume of the first input audio [0:a]​ is reduce 40%:

$ ffmpeg -i input.mp4 -i input.mp3 -filter_complex "[0:a]volume=0.40,amix"​ -map 0:v -map 0:a -map 1:a -shortest output.mp4

The option ​-shortest​ here changes the duration to the longest input media. For example, if the MP4 is longer than the MP3 the duration cuts to the MP3 length.

Tip:​ See question, ​“What is -map and How is it Used?”, for more details.

Love FFmpeg? Grab a copy of FFmpeg For Beginners on Kindle or Paperback to learn over 120 ways to master FFmpeg!

buy now on amazon

(FFmpeg) How to Remove Audio From a Video?

Although this next command isn’t exactly a filter, it’s still useful to know how to remove or mute, audio in an MP4.

Below is the quickest way to remove audio from any form of video using the ​-an​ option:

$ ffmpeg -i input.mp4 -an -vcodec copy output.mp4

Tip:​ ​-an​ indicates no audio output.

Documentation https://ffmpeg.org/ffmpeg-all.html#Examples

Love FFmpeg? Grab a copy of FFmpeg For Beginners on Kindle or Paperback to learn over 120 ways to master FFmpeg!
buy now on amazon

(FFmpeg) How to Add a High-Pass Filter to an Audio Track?

A high-pass filter is an audio filter that cuts off frequencies that are lower than the desired cutoff frequency. This is often used to cut out bass from an audio source while leaving the treble side of the audio.

The filter in FFmpeg is called highpass and is used by setting the desired cut off frequency in Hz. For example, here bass lower than 300Hz is remove:

  $ ffmpeg -i input.mp3 -af "highpass=f=3200" output.mp3  

The high-pass filter removes the lower frequencies but for the opposite effect, a low-pass filter is used. More information on the low-pass filter read question 35, How to Add a Low-pass Filter to an Audio Track?.

(ffmpeg) How to Add a Low-Pass Filter to an Audio Track?

A low-pass filter is an audio filter that cuts off frequencies that are higher than the desired cutoff frequency. This filter is popular in music production as it can be used to soften audio or remove undesired noise. 

With FFmpeg the filter lowpass is used by setting the desired cutoff frequency in Hz. In this example, any frequency above 3200Hz is cut off:

 $ ffmpeg -i input.mp3 -af "lowpass=f=3200" output.mp3

The low-pass filter is great for getting closer to the bass of the audio. For the opposite effect, a high-pass filter is used which can be found in question 36, “How to Add a High-Pass Filter to an Audio Track?”.

The FFmpeg Bible Releases Tomorrow + a Cover sneak peek

Note: I’ve received a lot of feedback about the title of the published book and the community feels the name is disingenuous for various reasons To patch things up the FFmpeg Bible will be removed from Amazon and a new title will be announced shortly. Thanks for understanding

After just over a month of working on The Ffmpeg Bible, I am happy to announce tomorrow (4/14/2020) the book will release on Amazon. The book will be available as an Ebook and a Physical book with over 200 pages of pure Ffmpeg knowledge.

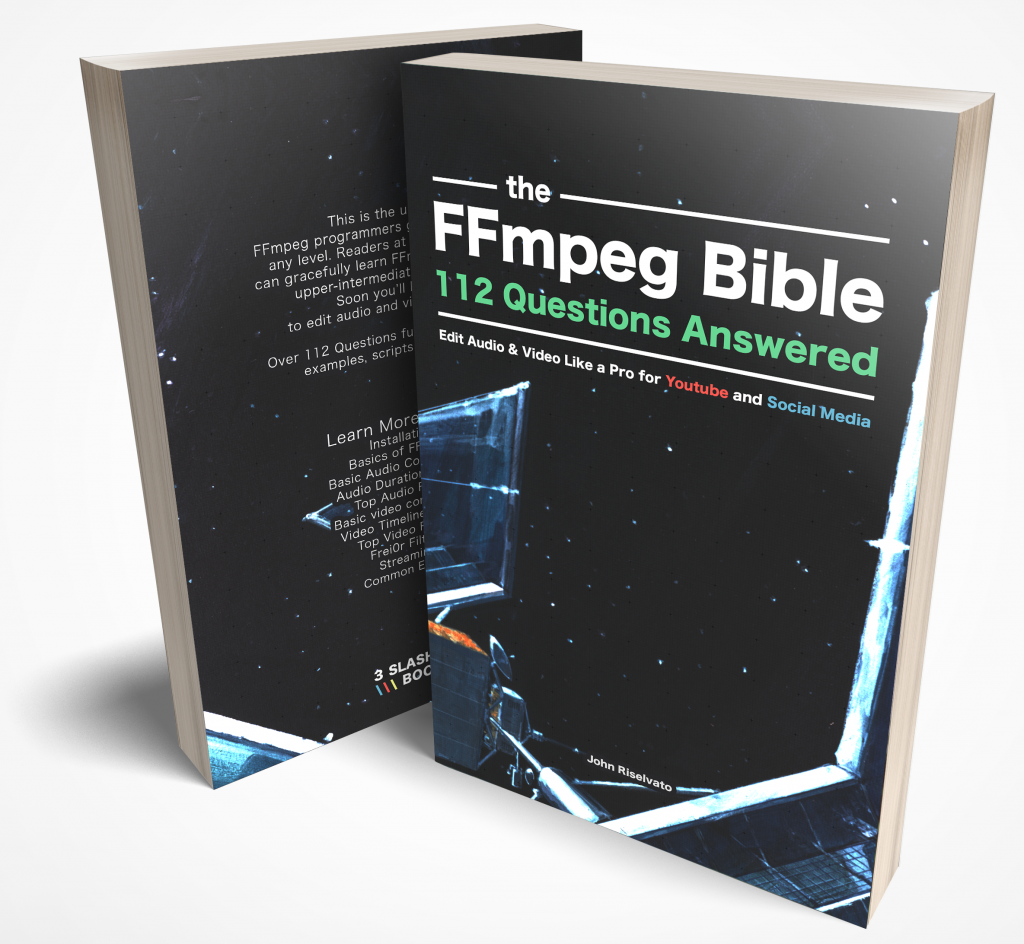
The full title of the book is “The FFmpeg Bible – Edit Audio & Video Like a Pro for Youtube and Social Media” and here’s a preview of the final cover art!

This is the ultimate FFmpeg programmers guide for users at any level. Readers at the novice level can gracefully learn FFmpeg and become upper-intermediate in no time. Soon you’ll be able to edit audio and video like a pro! Over 112 Questions fully answered with examples, scripts and images! Learn more about:

  • FFmpeg History
  • Installation
  • The Basics of FFmpeg
  • Basic Audio Conversions
  • Audio Duration Editing
  • Top Audio Filters
  • Basic video conversions
  • Video Timeline Editing
  • Top Video Filters, including:
  • Color Editing Filters
  • Sharpening / Blurring Filters
  • Video Playback Filters
  • Video Transformation Filters
  • Adding Text to Video (subtitles)
  • Image Video Filters
  • Advanced Video Filters (Including Frei0r)
  • Streaming
  • & Common Errors

I’m extremely excited to share the book with everyone and I look forward to the projects you create out of it.

Please share this release with anyone you think can benefit from learning a new programming API!

Love FFmpeg? Grab a copy of FFmpeg For Beginners on Kindle or Paperback to learn over 120 ways to master FFmpeg!

buy now on amazon

As stated inside the book, every example and topic will be available on this website at this link.

How to install flite / flitevox for FFmpeg?

Flitevox or Flitelib is an open source small run time speech engine. Pass it text and create an audio file with a robot saying it. Really cool and useful for some projects.

Flitelib is not a native filter available in FFmpeg build nor inside the source. Although the documentation states that –enable-libflite is required for config, installing flitelib is required before installing FFmpeg. If you do try to enable the filter you’ll get this error:

$ ./configure --disable-indevs --enable-libflite --enable-cross-compile
ERROR: libflite not found

If you think configure made a mistake, make sure you are using the latest
version from Git.  If the latest version fails, report the problem to the
ffmpeg-user@ffmpeg.org mailing list or IRC #ffmpeg on irc.freenode.net.
Include the log file "ffbuild/config.log" produced by configure as this will help
solve the problem.

In this post, I’ll show you how to install flite and get it working with FFmpeg

First download flitevox from source and install

$ git clone https://github.com/festvox/flite.git
$ cd flite/
$ ./configure
$ make
$ sudo make install

If you’re running linux this installation works perfectly. If you’re running MacOS (if on Monterey or newer, look at the bottom of this tutorial for new instructions), you’ll get this error:

$ sudo make install
Password:
Installing
mkdir -p /usr/local/bin
mkdir -p /usr/local/lib
mkdir -p /usr/local/include/flite
/usr/bin/install -c -m 644 include/*.h /usr/local/include/flite
/usr/bin/install -c -m 755 ../bin/flite_time /usr/local/bin
cp -pd ../build/x86_64-darwin19.0.0/lib/libflite_cmu_us_kal.a ../build/x86_64-darwin19.0.0/lib/libflite_cmu_time_awb.a ../build/x86_64-darwin19.0.0/lib/libflite_cmu_us_kal16.a ../build/x86_64-darwin19.0.0/lib/libflite_cmu_us_awb.a ../build/x86_64-darwin19.0.0/lib/libflite_cmu_us_rms.a ../build/x86_64-darwin19.0.0/lib/libflite_cmu_us_slt.a ../build/x86_64-darwin19.0.0/lib/libflite_usenglish.a ../build/x86_64-darwin19.0.0/lib/libflite_cmu_indic_lang.a ../build/x86_64-darwin19.0.0/lib/libflite_cmu_grapheme_lang.a ../build/x86_64-darwin19.0.0/lib/libflite_cmulex.a ../build/x86_64-darwin19.0.0/lib/libflite_cmu_indic_lex.a ../build/x86_64-darwin19.0.0/lib/libflite_cmu_grapheme_lex.a ../build/x86_64-darwin19.0.0/lib/libflite.a /usr/local/lib
cp: illegal option -- d
usage: cp [-R [-H | -L | -P]] [-fi | -n] [-apvXc] source_file target_file
       cp [-R [-H | -L | -P]] [-fi | -n] [-apvXc] source_file ... target_directory
make[1]: *** [install] Error 64
make: *** [install] Error 2

That’s because MacOS uses different “cp” variables then linux. I found this Stack Overflow answer with the solution: https://stackoverflow.com/a/29075638/525576 but here’s the steps to fix it.

In the folder “flite/main” you’ll need to edit the Makefile with the MacOS version of the command:

$ cd main/
$ vim Makefile

Replace the following:

#       The libraries: static and shared (if built)
        cp -pd $(flite_LIBS_deps) $(INSTALLLIBDIR)
ifdef SHFLAGS
        cp -pd $(SHAREDLIBS) $(VERSIONSHAREDLIBS) $(INSTALLLIBDIR)
endif

to (-pd to -pR):

#       The libraries: static and shared (if built)
        cp -pR $(flite_LIBS_deps) $(INSTALLLIBDIR)
ifdef SHFLAGS
        cp -pR $(SHAREDLIBS) $(VERSIONSHAREDLIBS) $(INSTALLLIBDIR)
endif

How we can try installing flite again:

$ sudo make install

flite should not show any errors and the installation should be complete.

Now back in ffmpeg source filter:

$ ./configure --enable-libflite --enable-cross-compile
$ make install

Installation will complete. To test if flite is working open a new terminal and type:

$ ffplay -f lavfi -i flite=text='Hello World!'

Hello work will speak!


Update Install on macOS Monterey

I recently installed this on macOS Monterey, and it seems the installation is a lot easier than before. Here’s the history of my install:

git clone https://github.com/festvox/flite.git
cd flite/
./configure
make
sudo make install
git clone https://github.com/FFmpeg/FFmpeg.git
cd FFmpeg/
./configure --enable-libflite --enable-cross-compile
make install

Then run this to try it out

ffplay -f lavfi -i flite=text='Hello World!'

For more information on how to use the flite filter in ffmpeg, check out this tutorial, How to generate text to speech in FFmpeg.

Love FFmpeg? Grab a copy of FFmpeg For Beginners on Kindle or Paperback to learn over 120 ways to master FFmpeg!

buy now on amazon

(FFmpeg) How to Generate Text to Speech Audio?

Tip: You’ll need to enable –enable-libflite for this filter to work. 

Generating text to speech is a great feature to have locally on a computer. From using it in a YouTube video to making memes on Twitter, once you learn this filter, you’re creating content at new speeds.

There are two methods to set text and generate speech with flite; Either from a file or inside in the command. 

An example of text from a text file (speech.txt):

 $ ffmpeg -f lavfi -i "flite=textfile=speech.txt" output.mp3 

An example of text inside the command:

 $ ffmpeg -f lavfi -i flite=text='Hello World!' output.mp3 

For more information about flite, visit: https://ffmpeg.org/ffmpeg-filters.html#flite or project: http://www.festvox.org/flite/download.html

How to install flite in FFmpeg?

read more here: http://johnriselvato.com/how-to-install-flite-flitevox-for-ffmpeg/

Love FFmpeg? Grab a copy of FFmpeg For Beginners on Kindle or Paperback to learn over 120 ways to master FFmpeg!

buy now on amazon