As the years go by, it gets harder and harder to use older home-brew tools. This is totally the case for the PS2 scene as most of it’s tools are from 2008. I just bought from japan “Initial D: Special Stage” last week and it finally came in the mail. Well to my surprise, with Free McBoot and all of it’s ELFs you can’t run Japanese games from the disc on an American PS2. So where does that leave us?
If you have a Ps2 specific hard drive + the Ethernet port installed into your PS2 you can use a few tools to rip backup of your legally owned games straight to the hard drive for play with HDLoader. So I’m going to show you how to do that since the data to actually get this working is scattered all over the place. Also, I won’t be hosting any of these files but I will tell you the exact versions I am using. Just google em, they are out there.
TOOLS/Apps will need:
- HDL Dump GUI V2.3 – Window/Linux Application
- Ethernet cable to connect PS2 to PC
- Open PS2 Loader 0.93 Beta
- Window or Linux OS (I used windows 10)
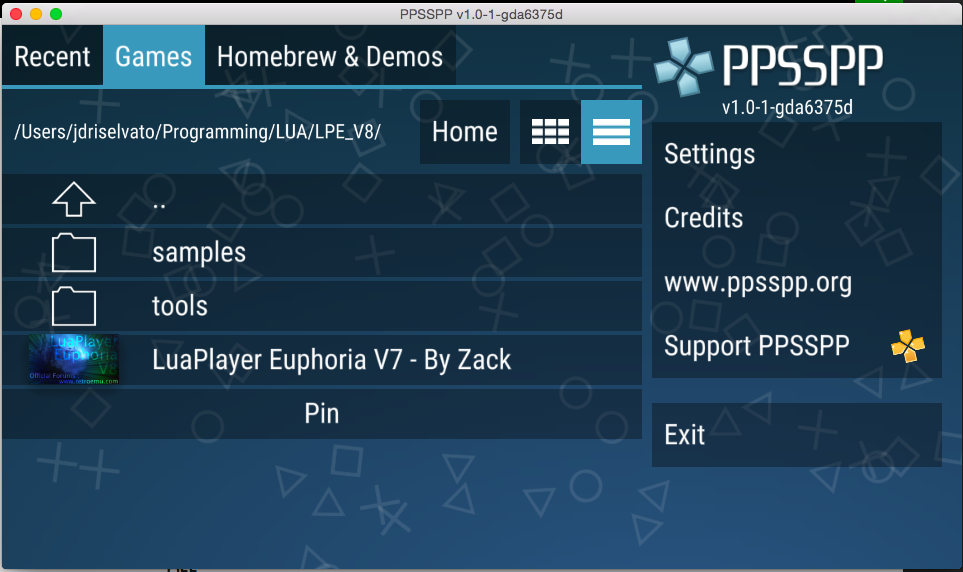
- Free MCBoot or some way to load the PS2 apps
- HDLoader – for after you install the game you can play it.
PART 1: Setting up Open PS2 Loader (OPL)
I won’t go into details about how to install Open PS2 Loader or how to run it, it’s expected you have that figured out.
First boot up OPL and go to settings. Make sure your settings look like this:
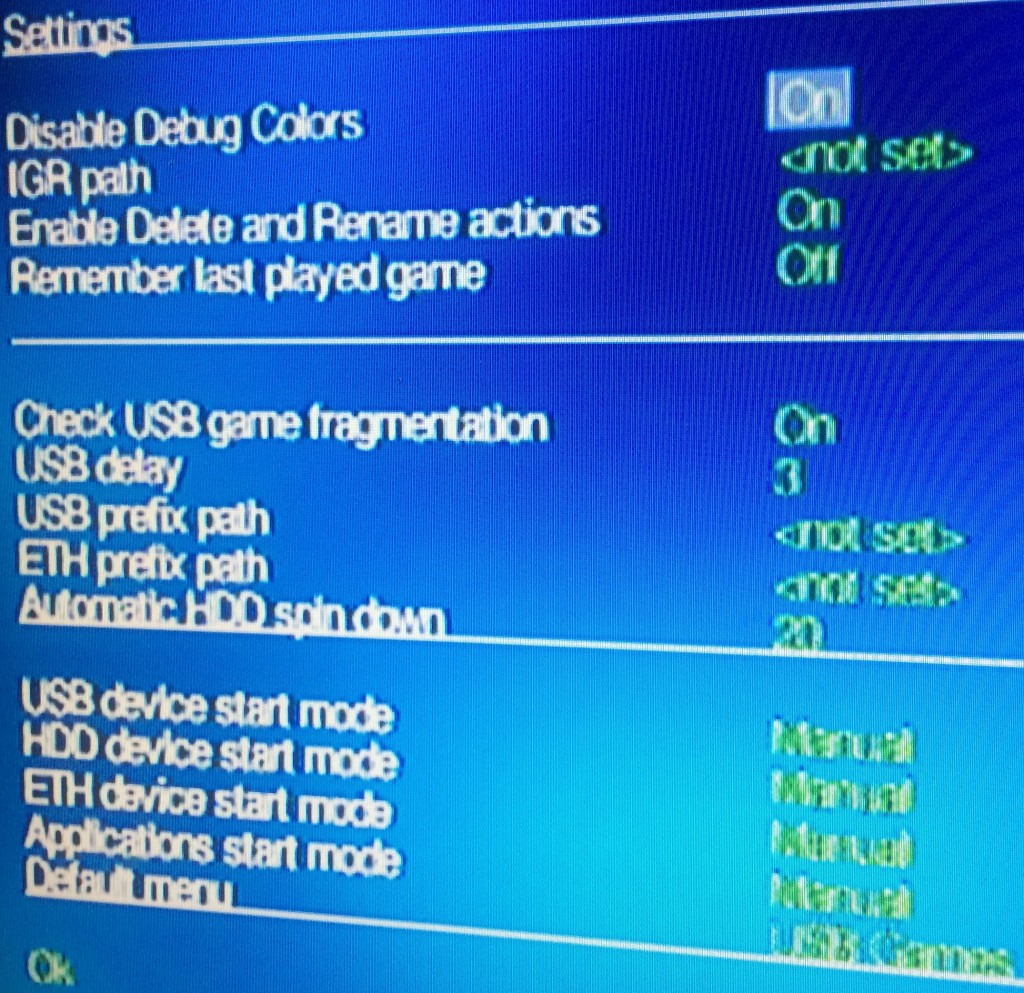
Specifically:
- Enable Delete and Rename actions – ON
- ETH device start mode – Manual
Next we’ll set up the Network Configuration. Make your Network Settings look like this (we are still in OPL):
For PS2 Network Settings:
- PS2 IP: 192.168.10.10
- PS2 Netmask: 255.255.255.0
- PS2_Gateway: 192.168.10.64
For PC Network Settings:
- PC IP: 192. 168.10.64
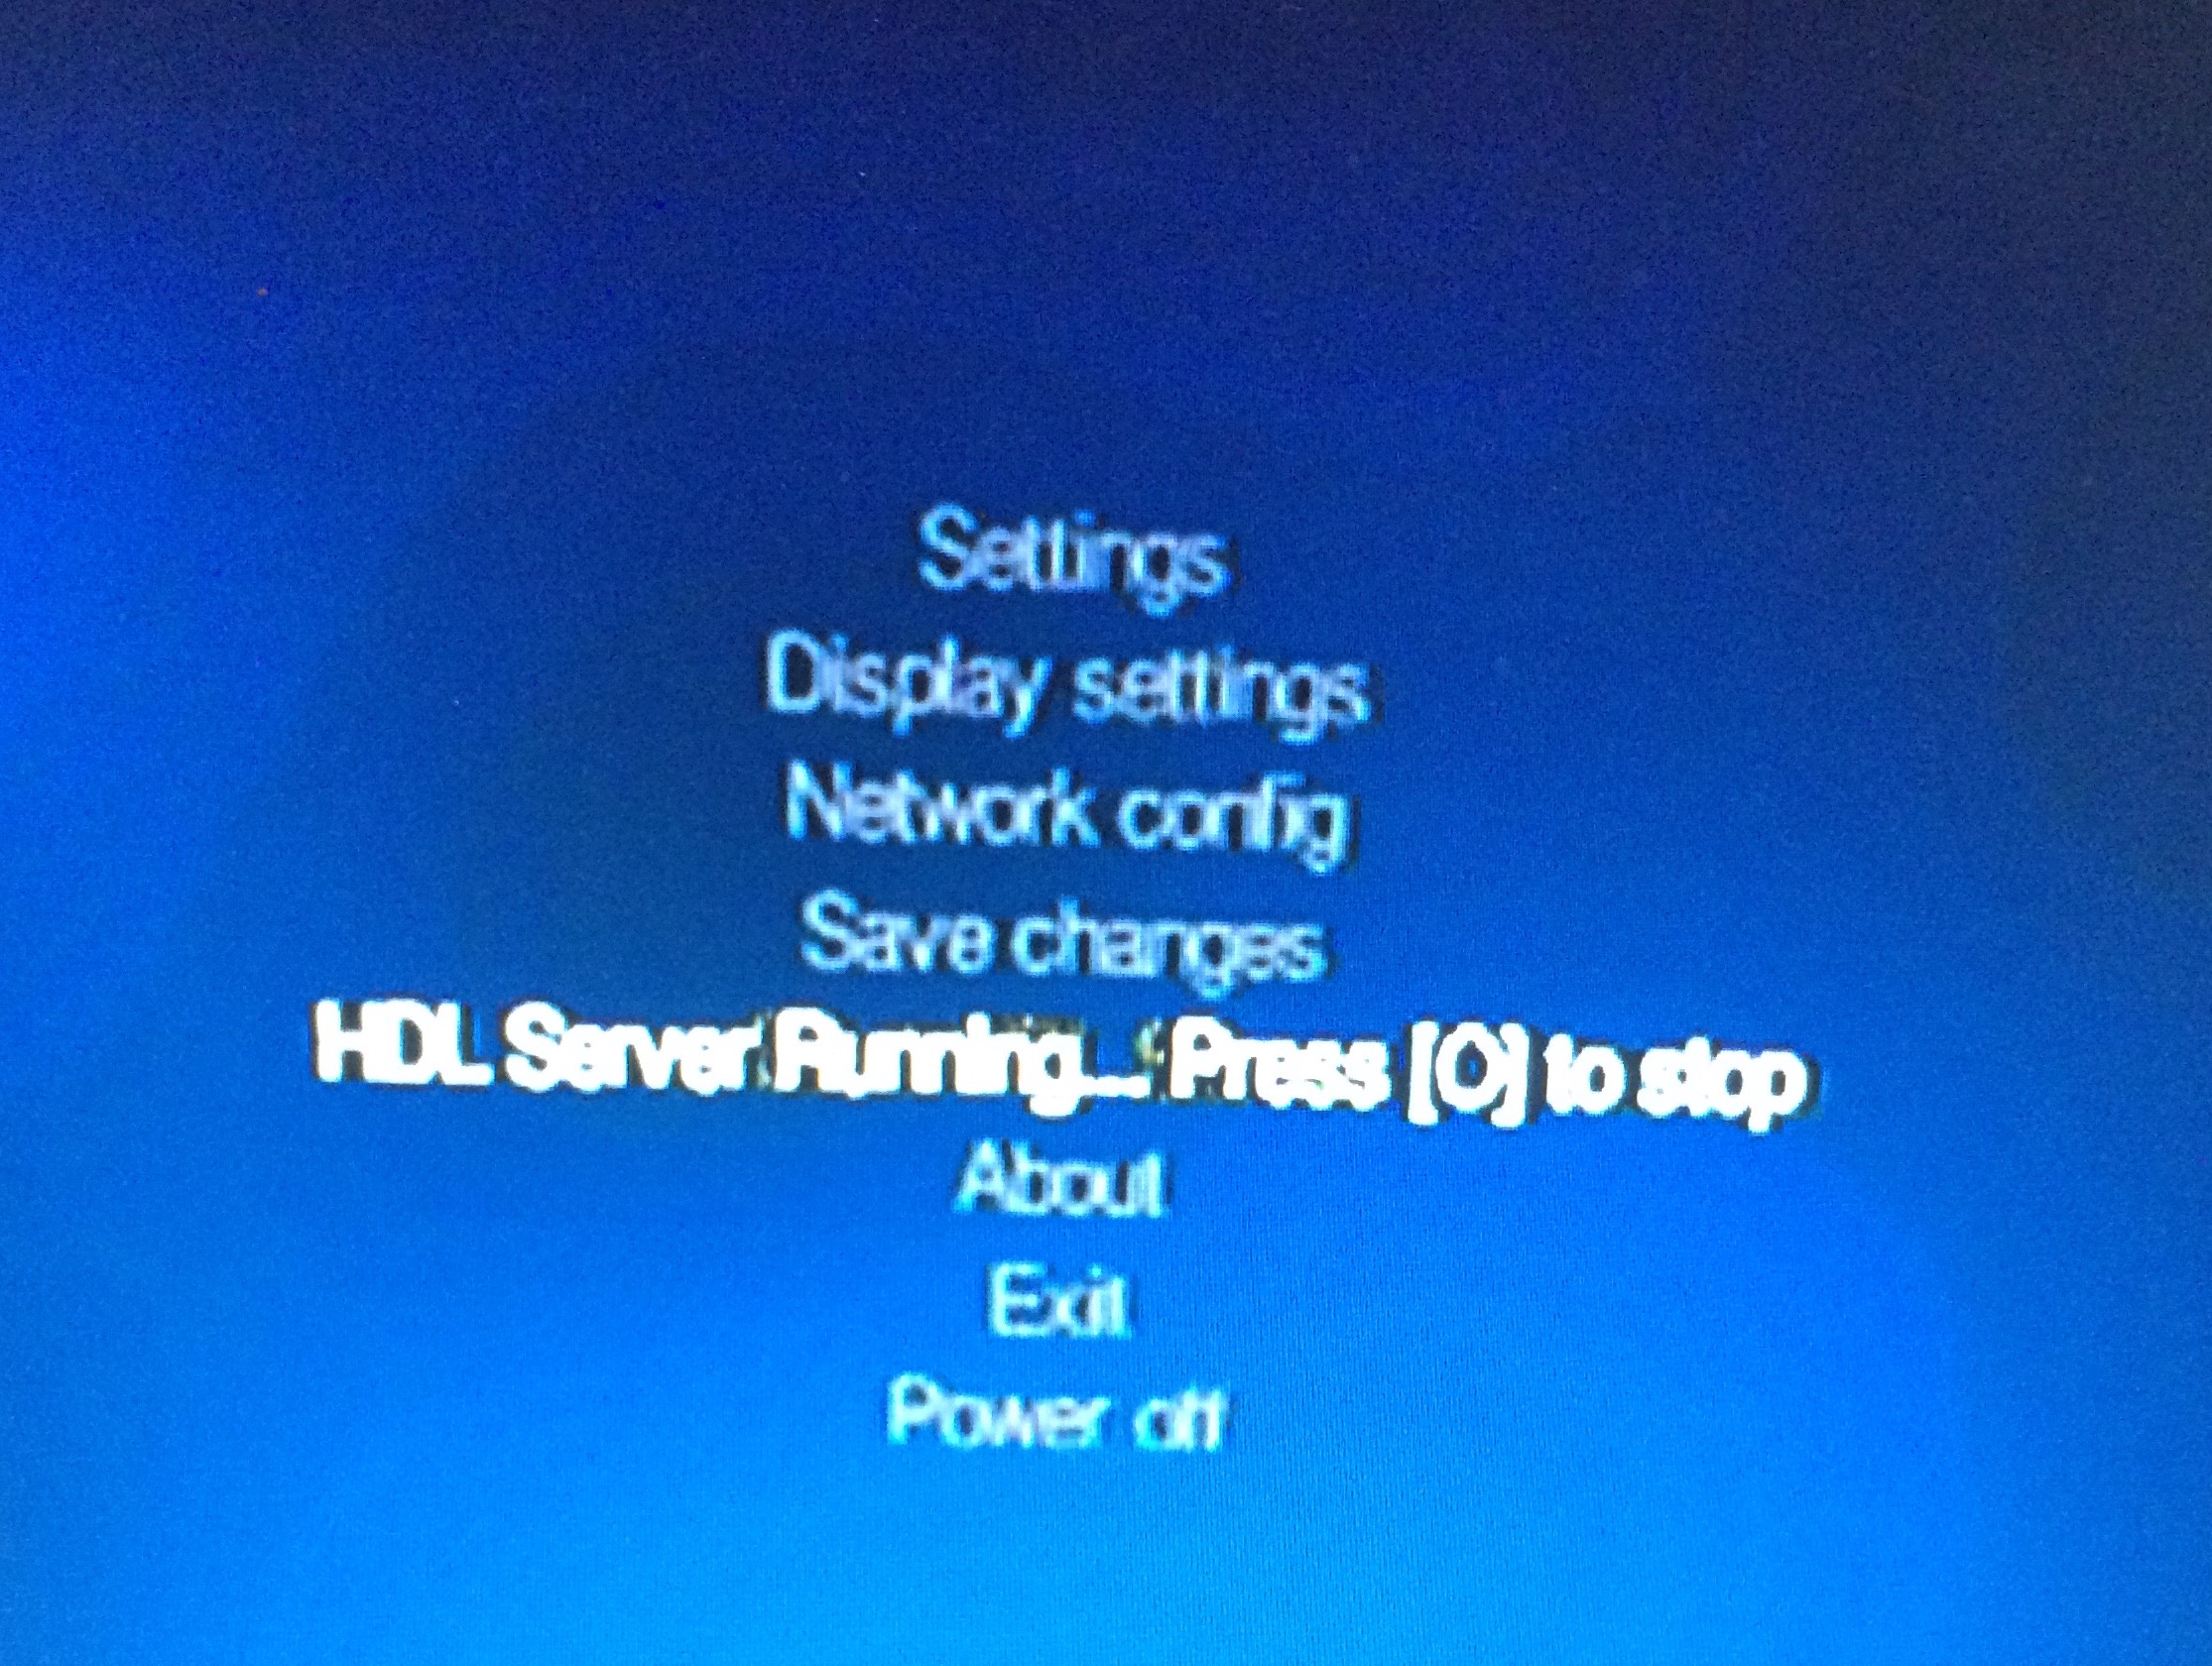
After this, select “Save changes”, this is important. Now if you saved, you should see Run HDL Server under “Save Changes”. Select it and the PS2 will now start the server. You know the server is working because it’ll show this screen (HDL SERVER Running.. Press [O] to stop):
Part 2: Setting up your PC (Windows 10)
Connect your Ethernet cable to the PS2 Ethernet port and to your PC. Next turn off your computers Wi-Fi and make sure it’s only connection is to the PS2.
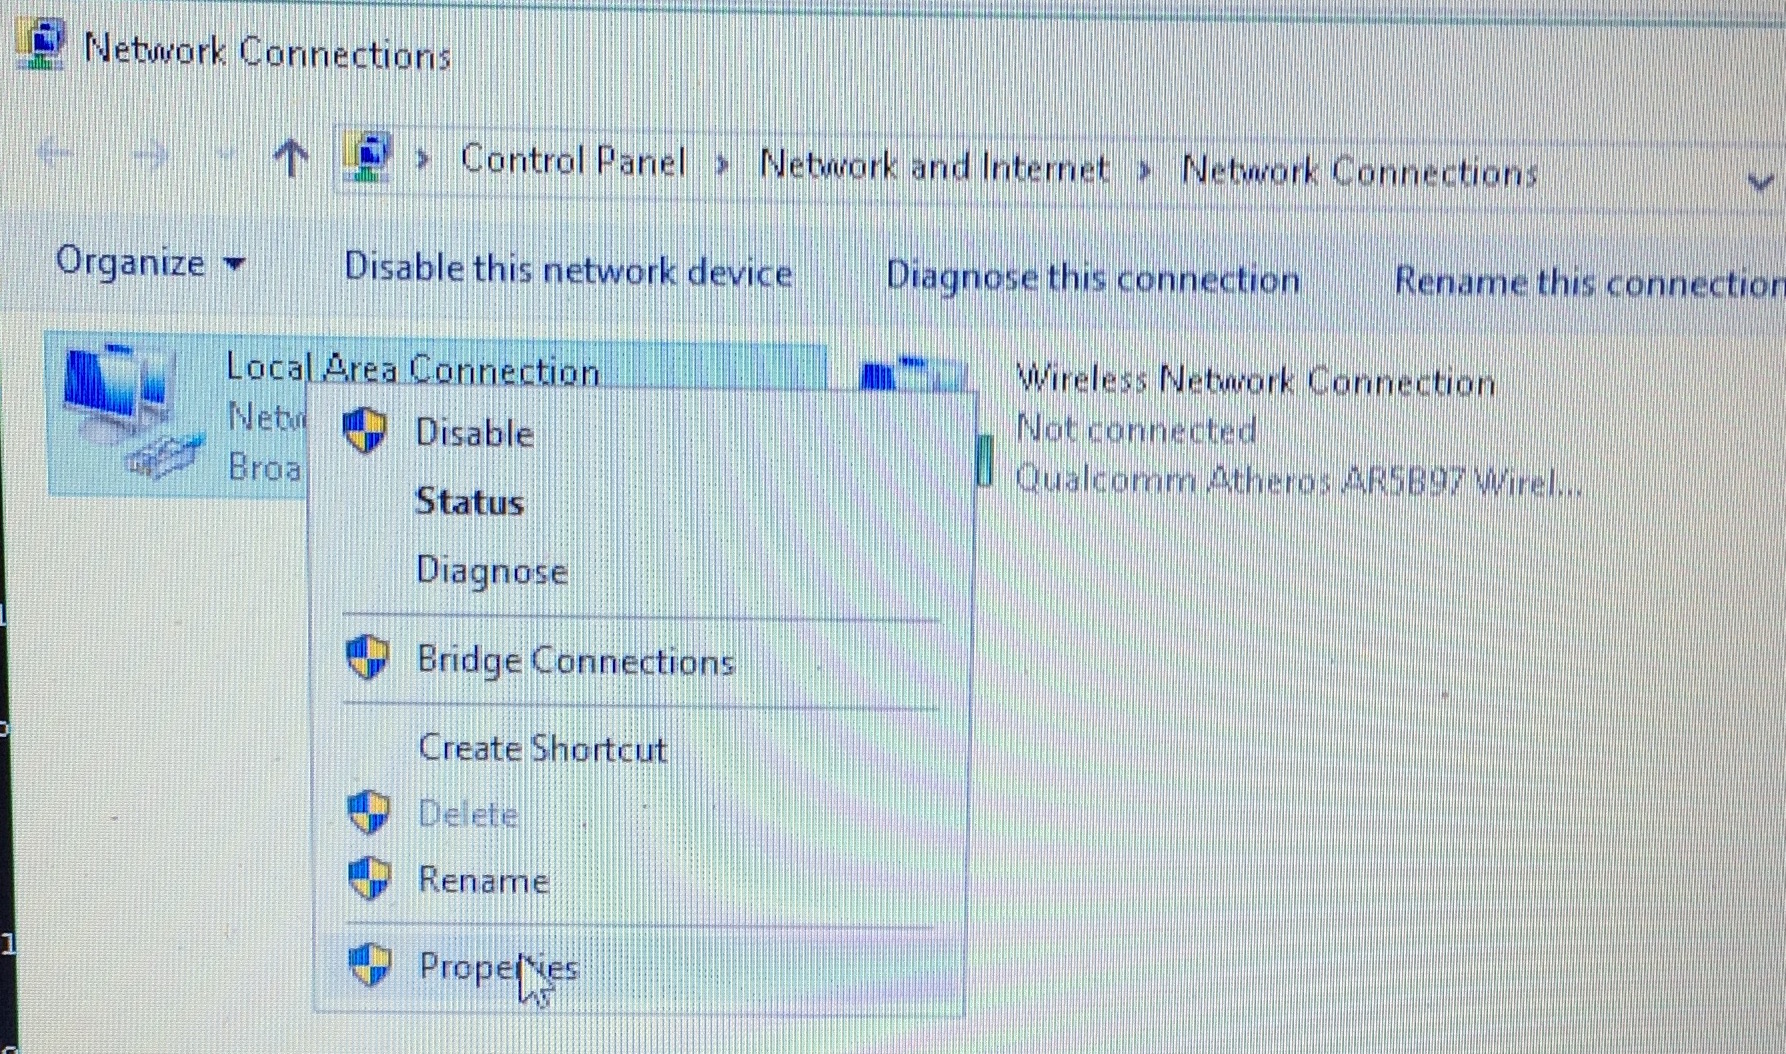
Next we’ll need to config your computer’s IP. This is important because without this step the PS2 won’t talk to the Computer. So to do that load your Network connections, right click “Local Area Connection” and Select “Properties“.
Next find in the “Networking” tab the item “Internet Protocol Version 4 (TCP/IPv4)” select it. Then select “Properties“. A screen with various fields should be seen (below):
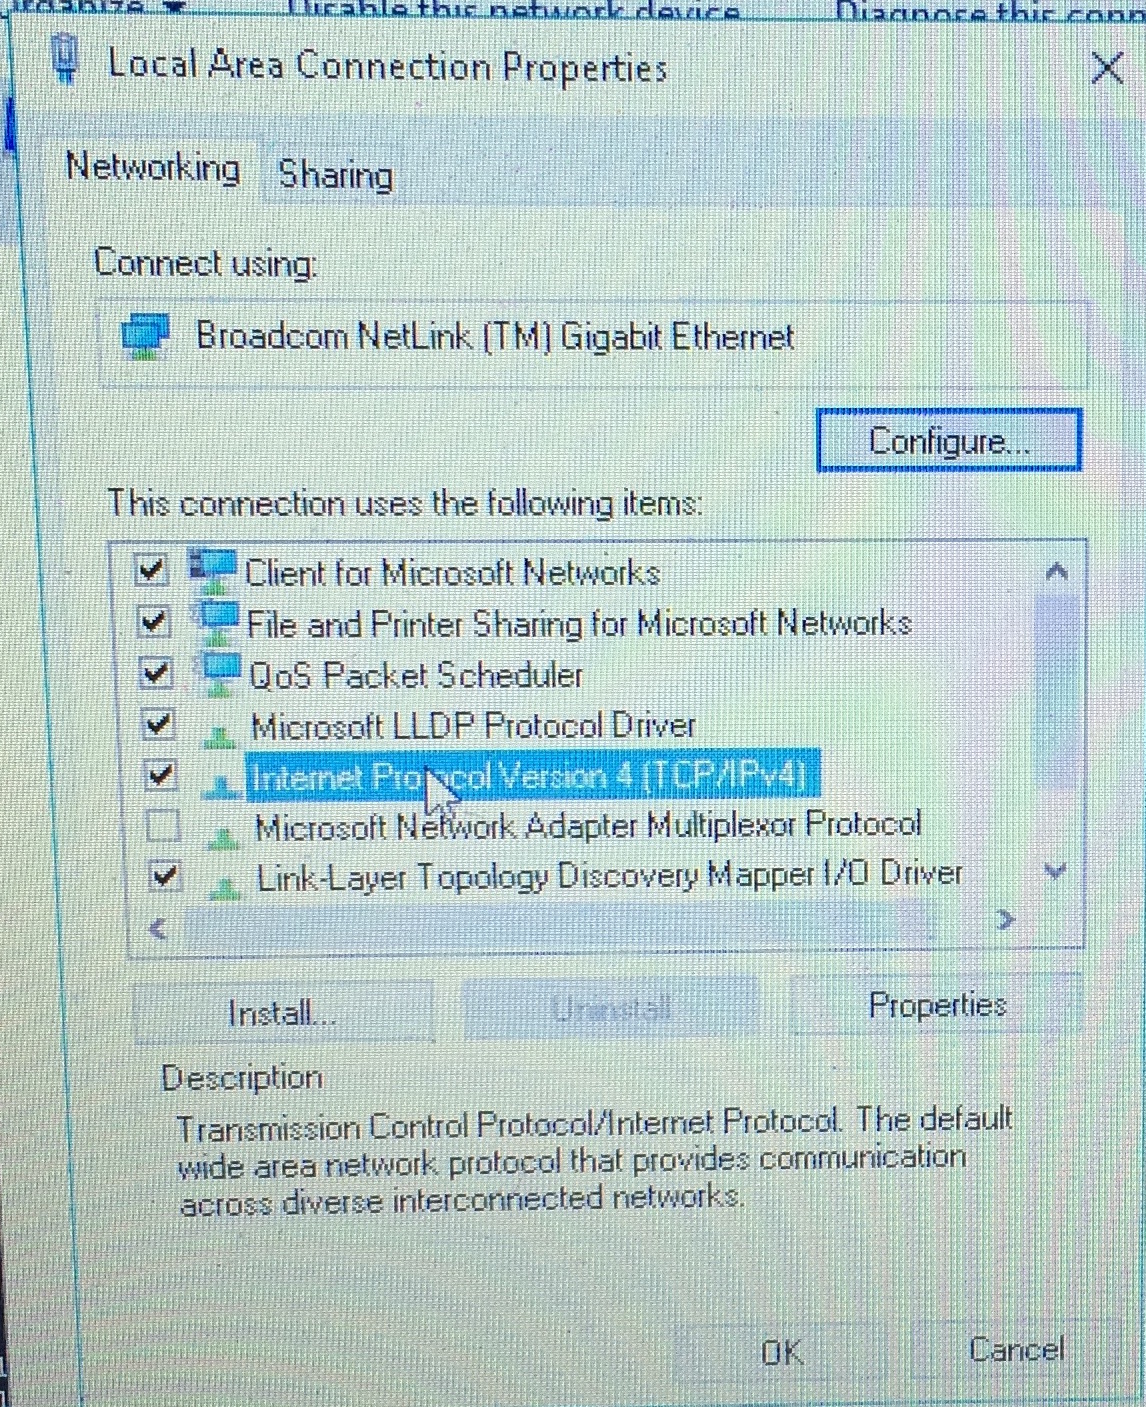
Now select “Use the following IP Address” button and enter the following:
- IP Address: 192. 168.10.64
- Subnet Mask: 255.255.255.0
- Default Gateway: 19.168.10.10
Then press OK to save it. This is important that these numbers are exact.
IMPORTANT: Now after you do this, you’re computer should ask you if you’d like to “Make This PC discoverable”, you want to enable this. Without this your firewall will never let you talk to the PS2. That’s it for configuring the PC
PART3: Setting up HDL Dump GUI 2.3
Now that we’ve configured both the PS2 and PC we can load up HDL Dump on your PC.
IMPORTANT: Make sure the HDL Server is running on your PS2 at this point.
Now set your PS2 Ip in HDL Dump to: 192.168.10.10 and press connect. If you’ve done all the above steps correctly you should be able to connect to your PS2 and see this screen:
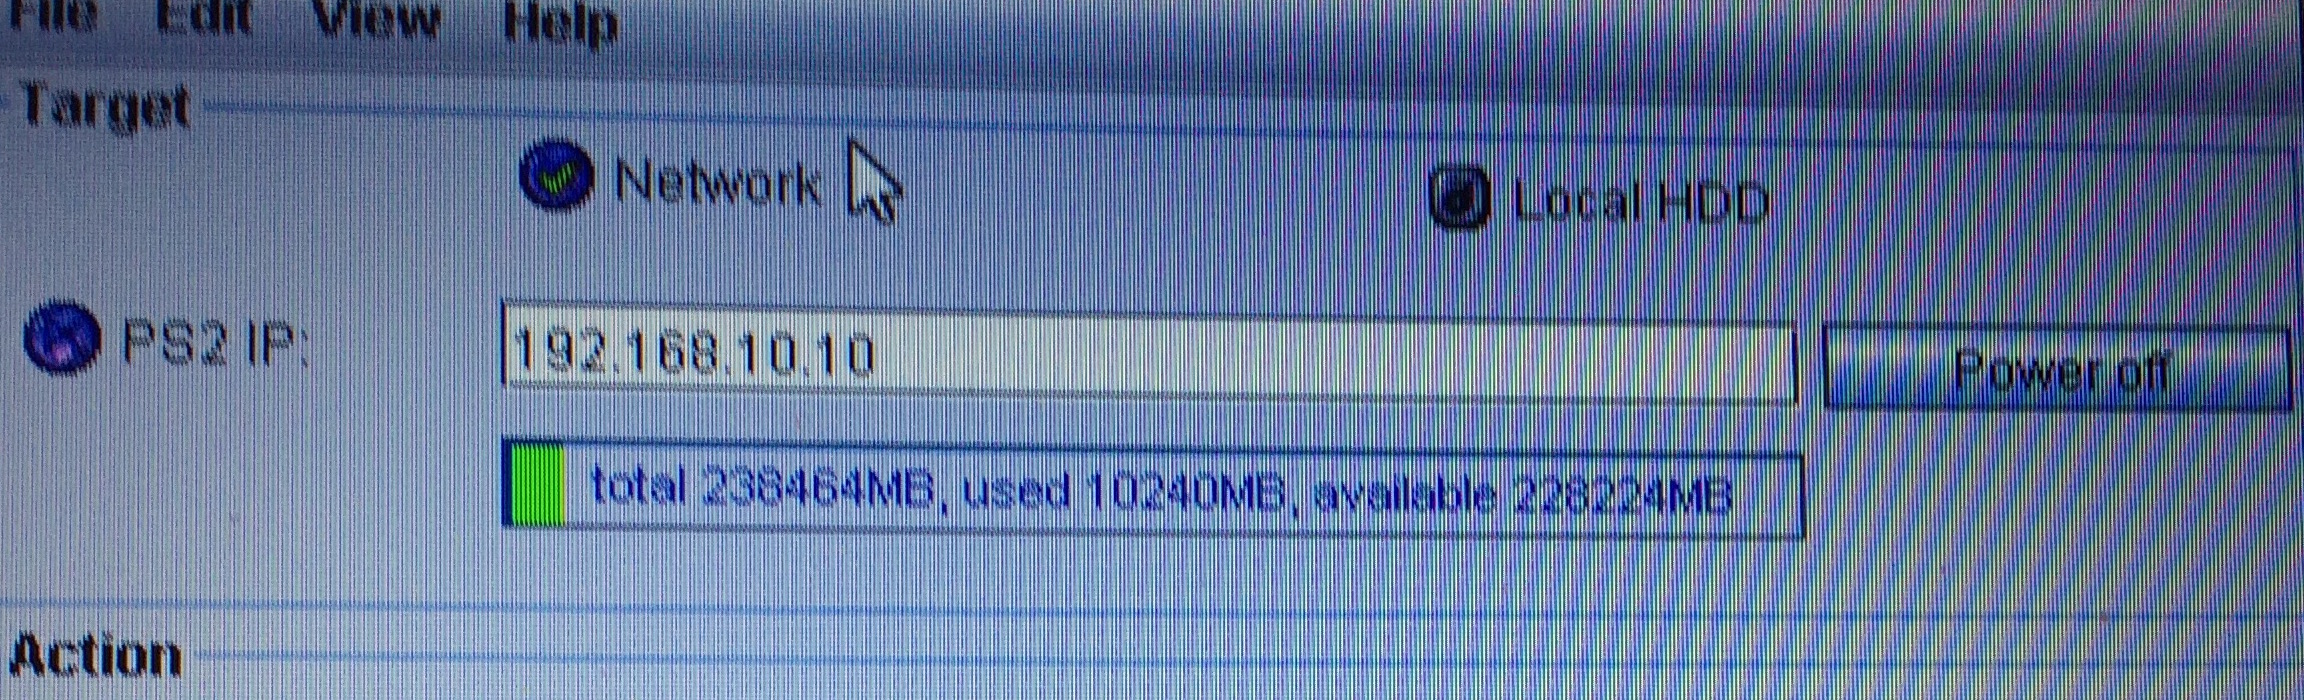
You also can see your hard-drive’s total space at this point. That’s how you know you’ve connected!
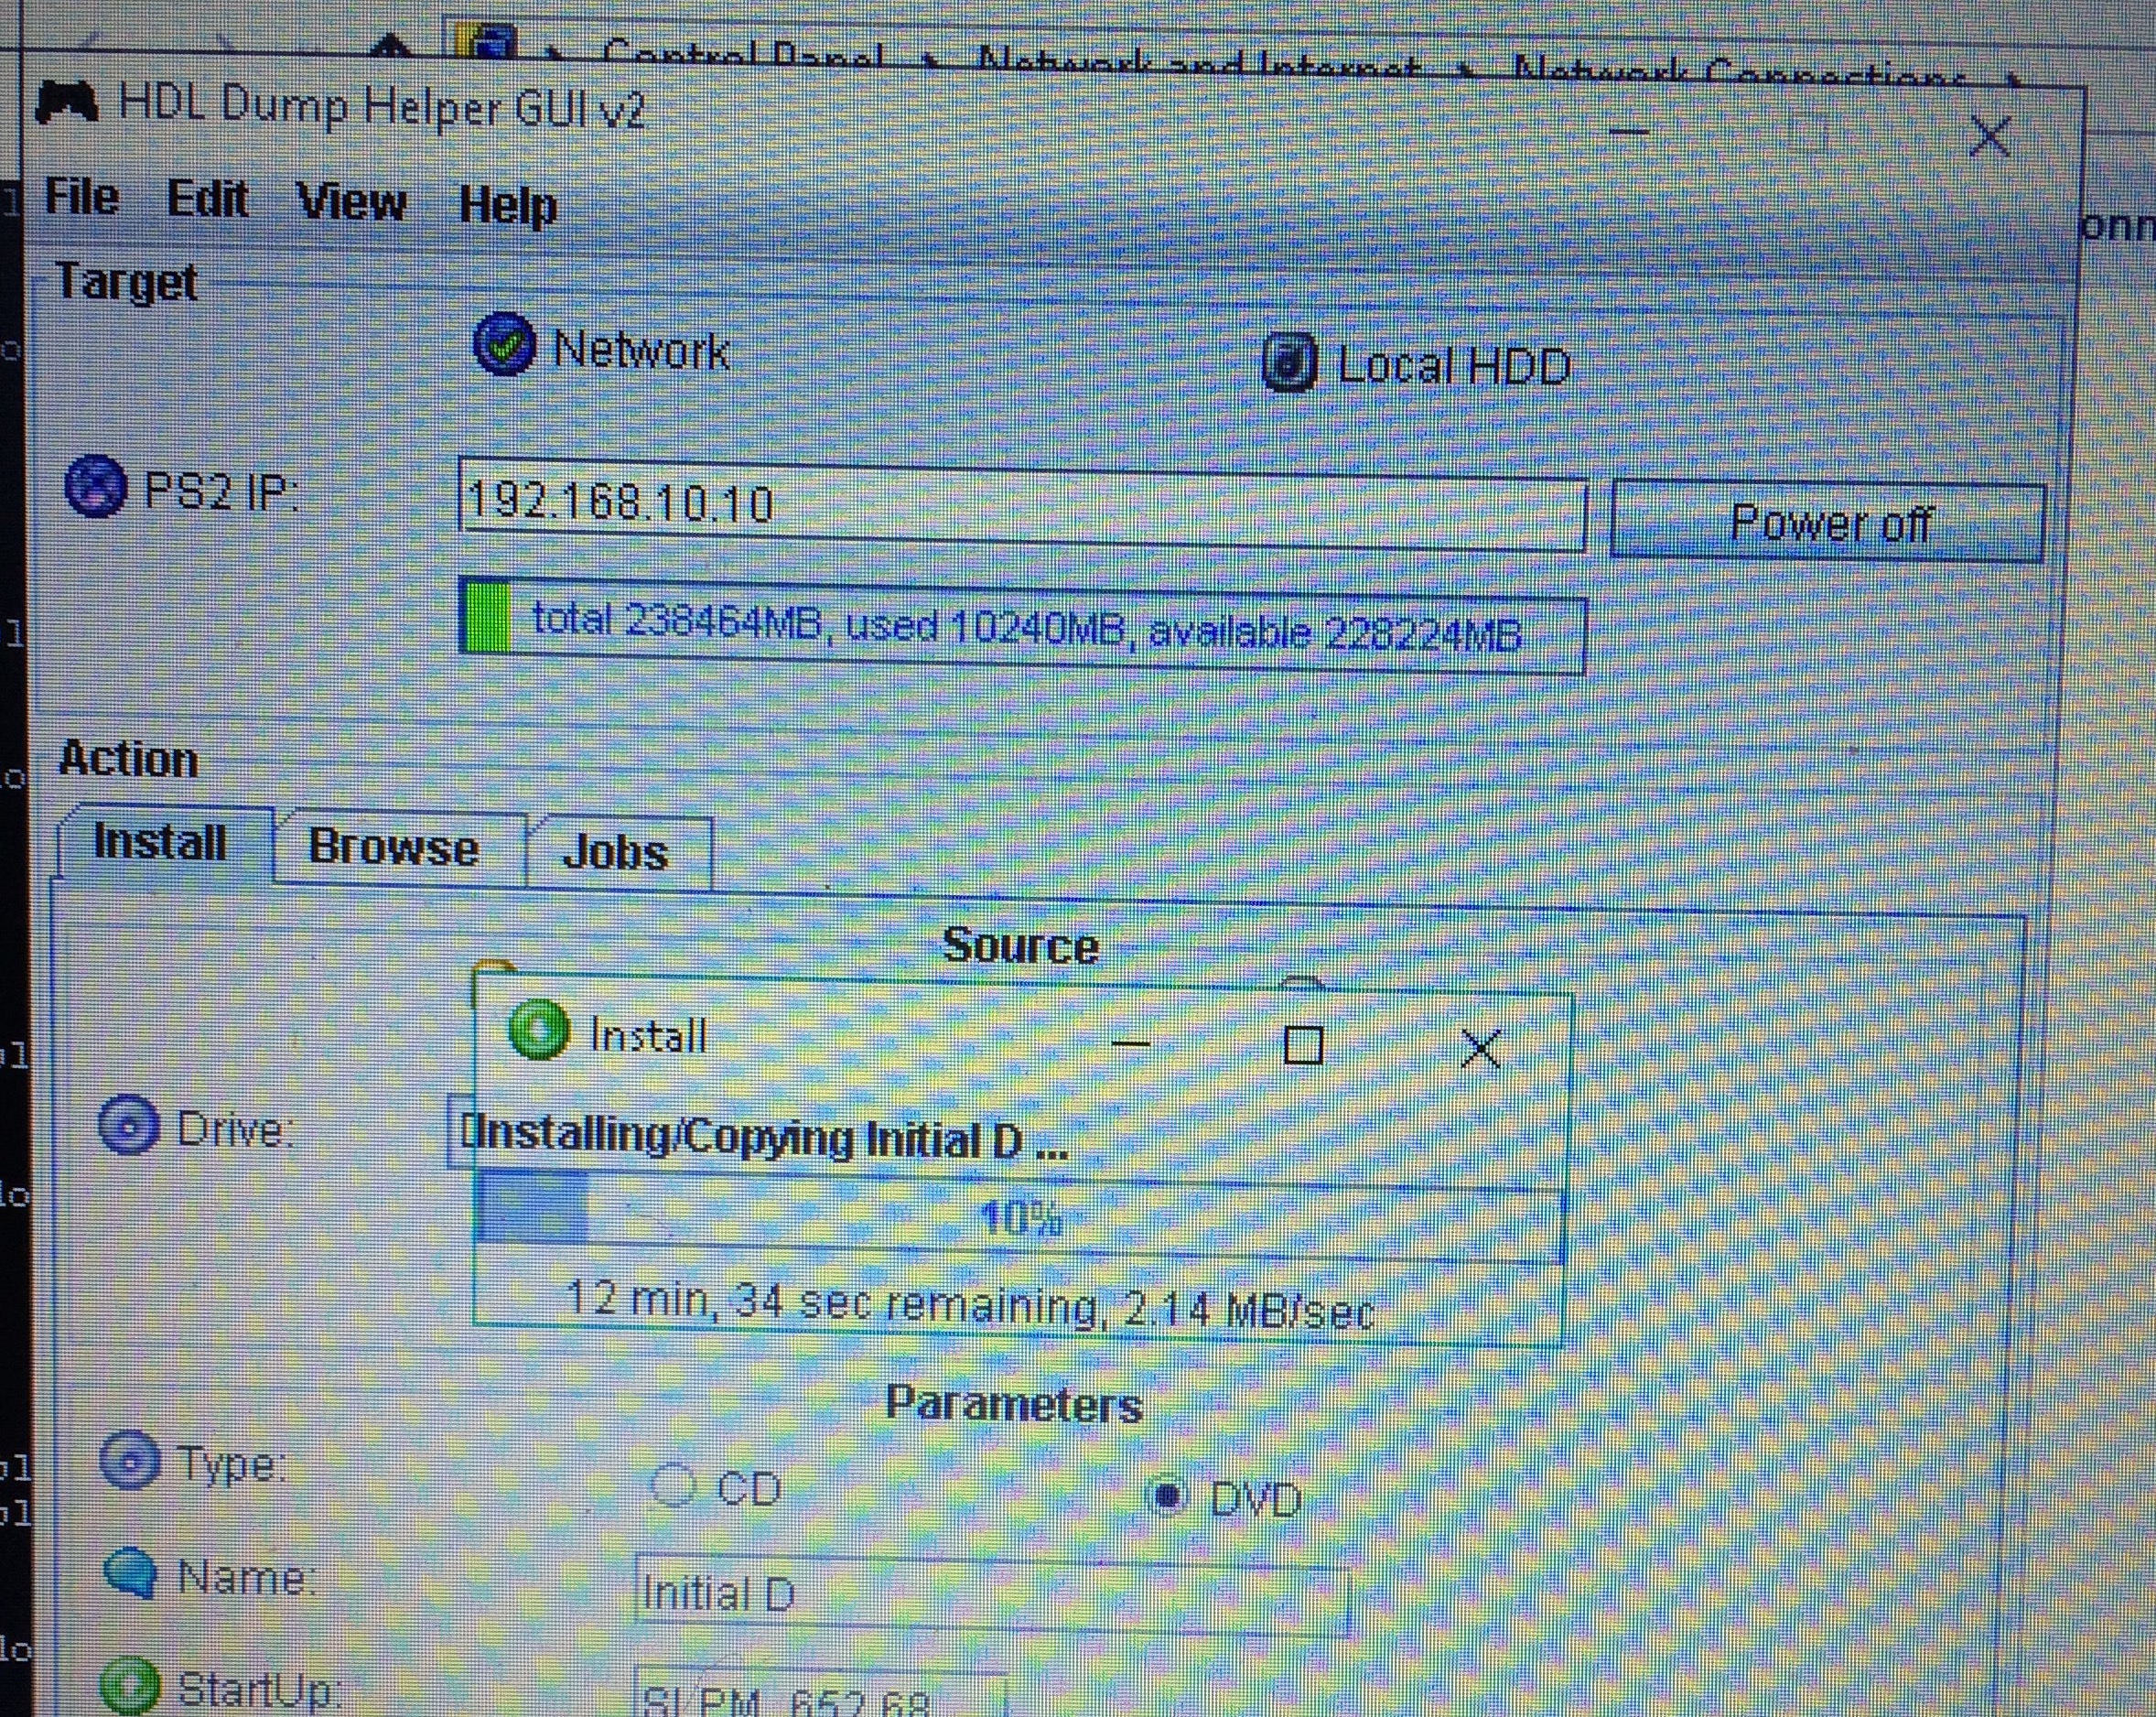
Now under the “actions” section, select your CD drive with the PS2 game you want to copy to the hard-drive. Name it if you want and press “Install” at the bottom. This install might take a few minutes as most games are about 3-4Gigs.
Here’s the screen you’ll see while it installs.
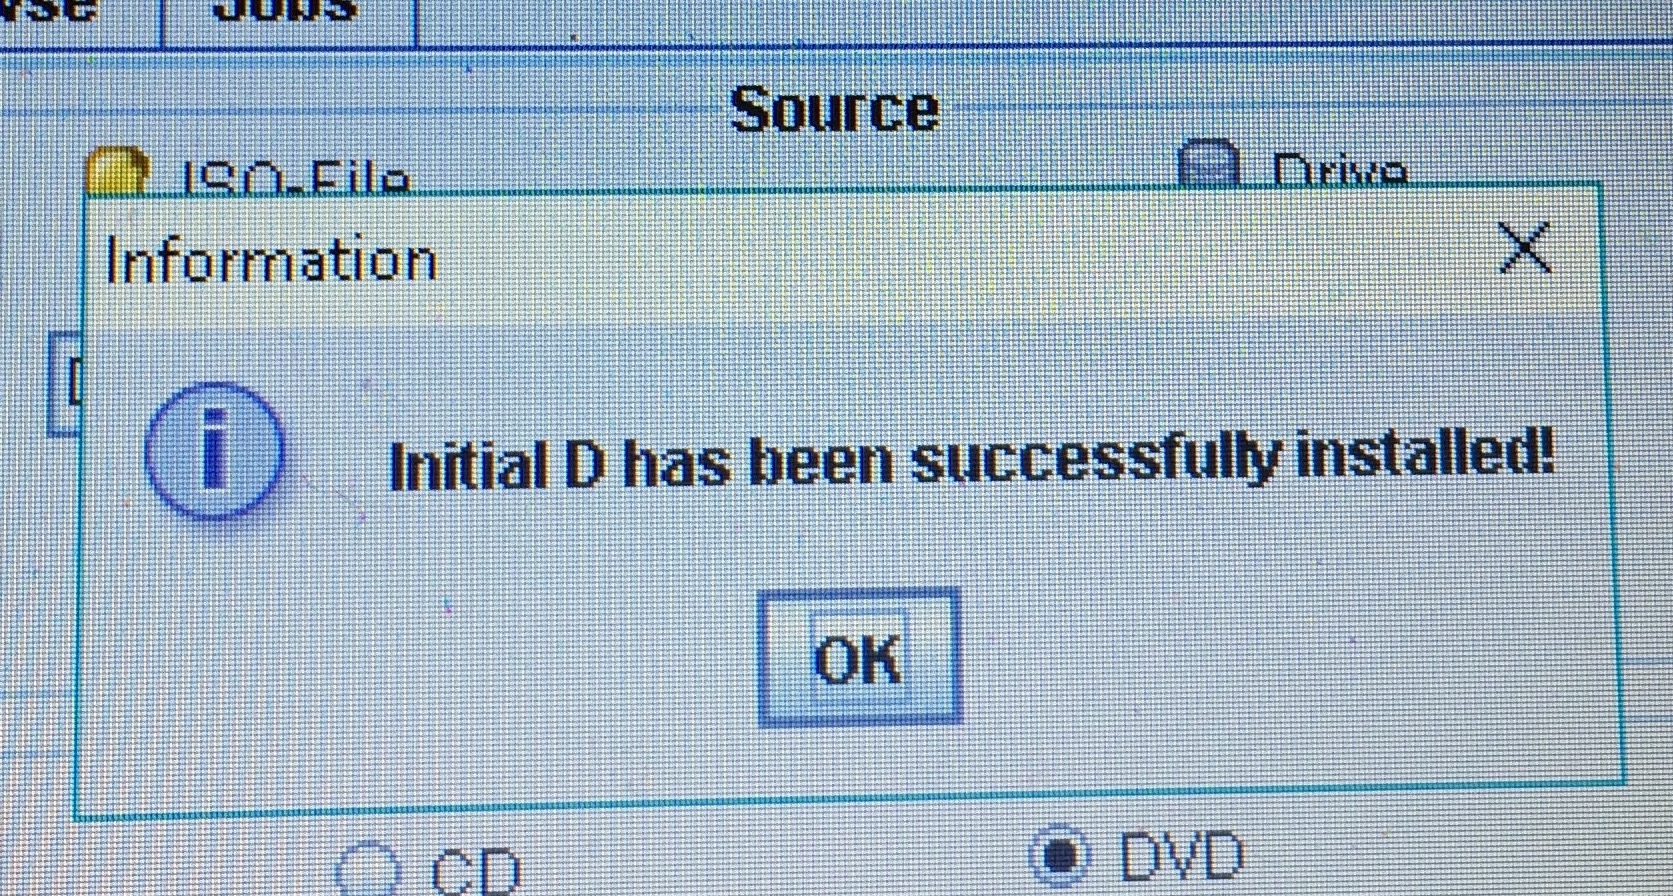
After it installs, tell HDL Dump to disconnect and then your PS2 will turn off.
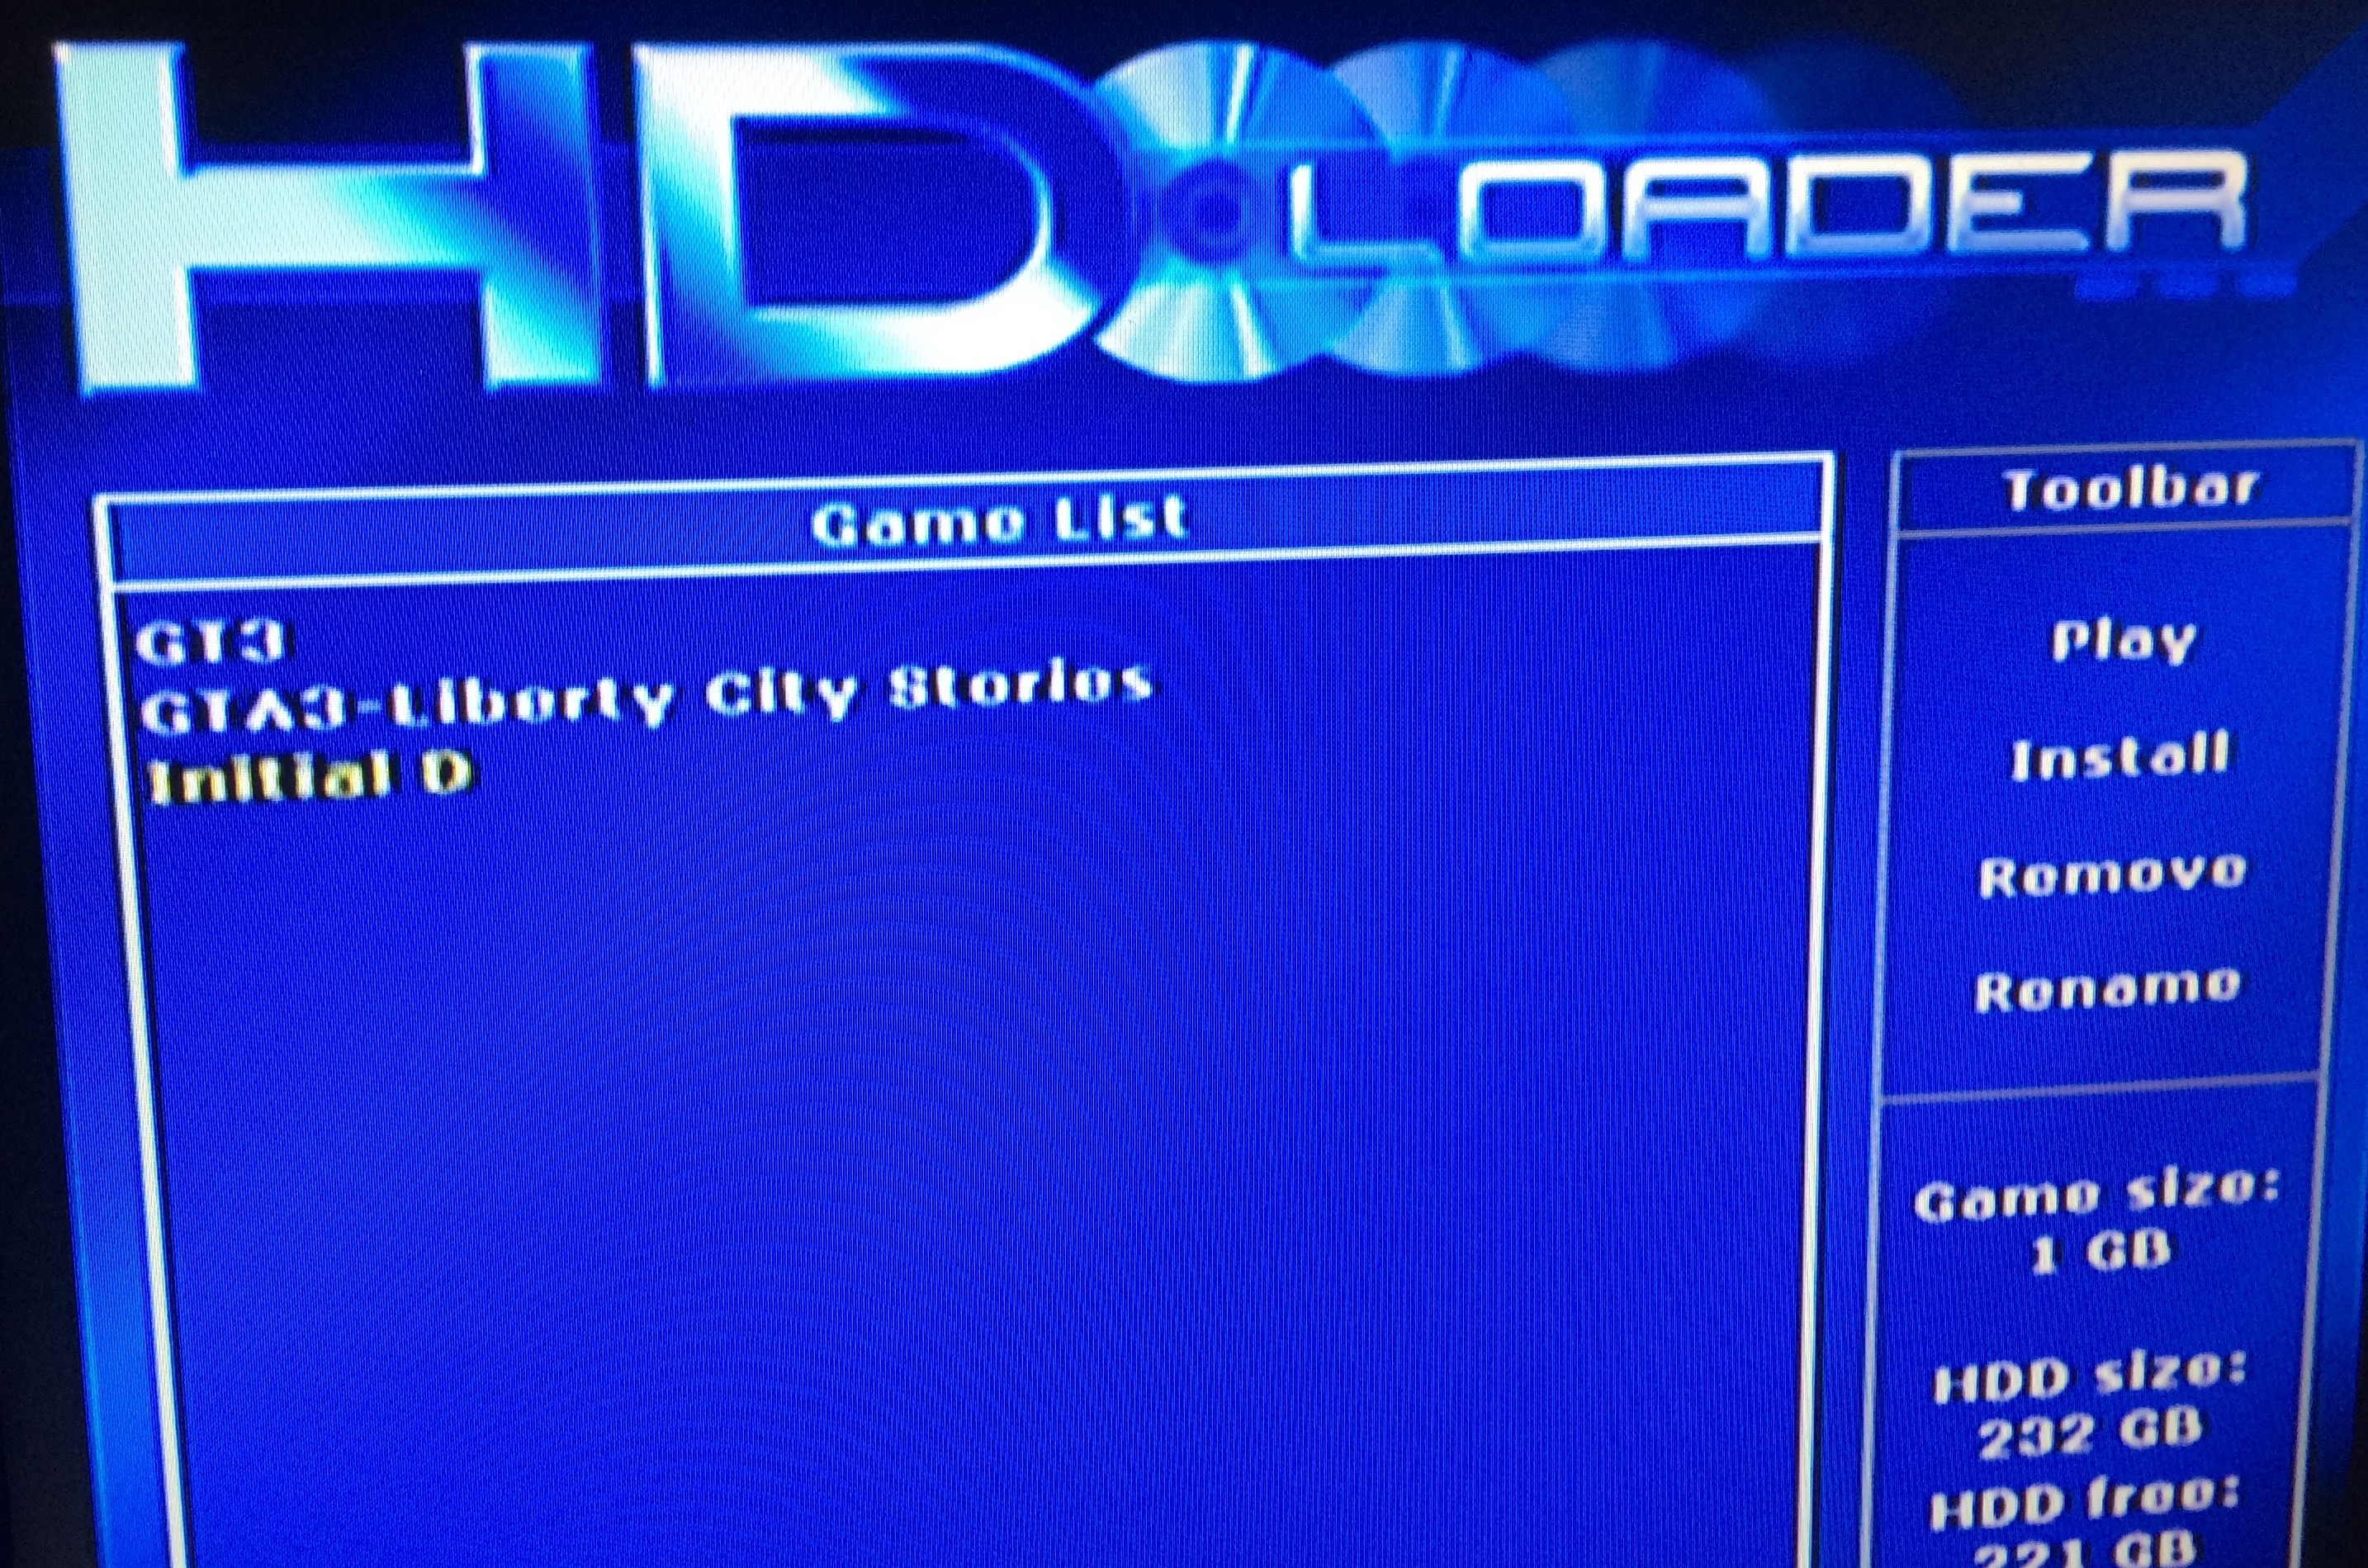
To play your new installed game use HD Loader and your game should be seen in the HDLoader list if it installed correctly!
Finished!
Hopefully everything worked out for you! I’m off to play Initial D now 😛

 whoa!
whoa!